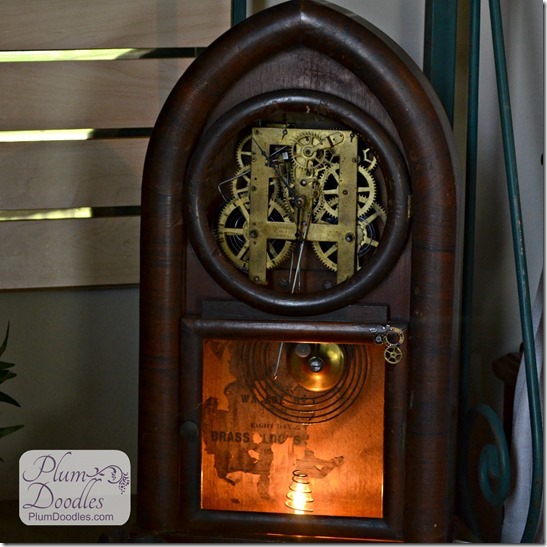
When my friend Dewey handed me this clock and said, “Here, do something with this,” the challenge was on. The clock face was missing, and the pendulum was nowhere to be found. With all those luscious brass gears exposed, I immediately thought of the steampunk trend. This vintage clock would make the perfect framework for a Steampunk “Time Machine” Lamp.
My least favorite part of any makeover- cleaning the grime. And the bonus- a humongous dead spider inside. Can’t imagine how big he was pre-dehydration. Don’t look too closely at the next picture- he’s still in there somewhere. ~shudder~
After a few more shudders and a quick flick with the vacuum, I could move on. I had a clip light left over from a Christmas village and thought it would make the perfect lighting for the time machine lamp.
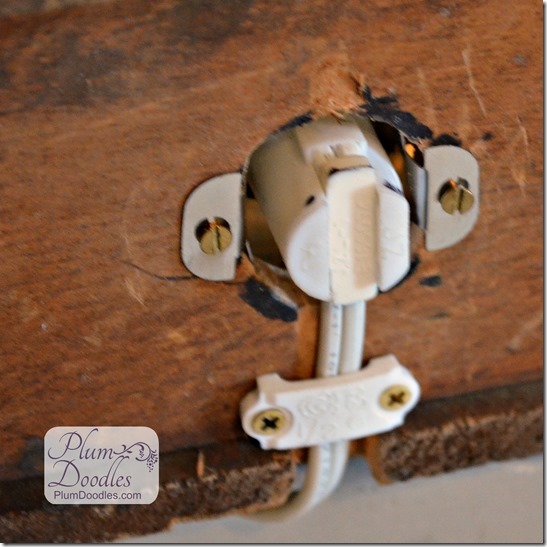
I drilled a hole in the bottom of the clock base using a spade bit. Unfortunately, as usual, things didn’t go exactly as planned. I didn’t have the bit secured in the drill tightly enough, so it wobbled as I was drilling and created an irregularly shaped hole.
Richard to the rescue again! He used a rasp to finish shaping the hole. He then pushed the light socket up through the bottom, bent the spring clips, and screwed them in place. Since the clock doesn’t have any feet, he also carved out a small area for the cord to feed out the back. He even trimmed down a bracket thingy to hold the cord in place. My hero. ![]()
Now for the fun part. Aren’t these gears gorgeous? If you follow on facebook, you saw this little teaser already. Did you guess it was a clock?
I wanted to extend the look of the gears to other areas of the clock, so I rummaged through Richard’s stash and found these tiny brass gears and doodads. I would have liked bigger pieces but worked with what I had. I attached them with epoxy- yeah, I got a little messy with the application, but it isn’t too bad when you’re not looking this closely.
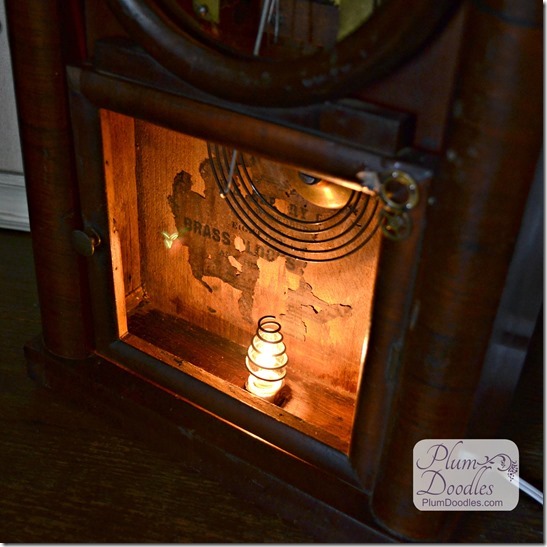
This was a fun find- a spring that fits perfectly over the light bulb! I think this is my favorite part of the transformation.
All lit up:
Almost finished, but still a little rough looking.
Refinishing the wood didn’t make sense for this project. I wanted it to look old, but not too beat up. So, I wiped it down with Howard’s Walnut Restor-A-Finish. It tones down the scratches and gives a little shine to the wood, without completely taking away the vintage look.
I still wish I could have found some larger gears for the frame around the opening. What do you think?

