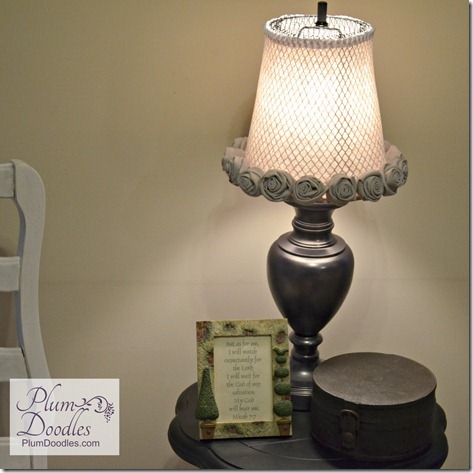
How are y’all doing? I wanted to get this finished and posted yesterday, but have had neck and shoulder problems for a couple of days. Slept in a weird position, I suppose, and now can hardly move or turn my head. Anyway, I have another lamp makeover for you, this time with a trash can lampshade. Yep, around here, we not only dumpster dive, but we also use the dumpster itself. Or trash can.
The first up was to paint the lamp base. I don’t remember what color it was originally. I first painted it black several months ago, then it sat around looking for a shade. Much like the rooster lamp. Last week, I was experimenting on a piece of glass with spray paint and looking at glass spray paint. I liked the look and decided to use the technique here.
The Lamp Base
First, I sprayed the lamp with purple paint, the same paint I used for the Tipsy Tuesday demo for changing paint sheens.
A light coat of looking glass paint gives it a silvery shimmer with a bit of the purple peeking through.
The Lamp Shade
For the shade, I used a wire trash can that had been lying around not fulfilling its calling.
Kind of cute just like that, but not very practical, unless you enjoy being blinded by the light. Now that song will be stuck in my brain.
I went to my stash of drop cloth fabric and cut out a cover for the trash-can-turned-lamp-shade. To do this, mark a beginning point at the top and bottom of the shade with masking tape.
Place the shade on the fabric, with the tape facing down. Lightly mark this beginning point (top and bottom) with a marker or pencil. Carefully roll the shade, marking both the top and bottom as you go. I marked about every couple of inches. I darkened the marks so you could see them more easily.
Continue rolling and marking until you get back to the beginning mark on the shade. Extend about an inch beyond that point. Draw a line connecting the top and bottom marks, both at the beginning and ending points. Cut out, adding an inch to the bottom line so that you can wrap it under the rim of the shade. The top has wire, so you won’t be able to wrap the fabric around that edge.
NOTE: The pattern for this type shade will be curved, which is the reason I rolled and marked the path of the shade. Cutting out a rectangle will NOT work!
Hot glue the top edge into place. Fold under the side seam and glue.
Stretch the fabric taut, fold it under the bottom rim, and glue into place.
Glue trim around the top to cover the raw fabric edge.
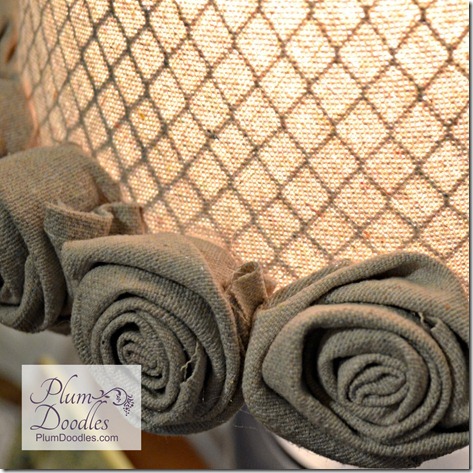
For the bottom, I made roses like the ones on the burlap rose topiary, but using drop cloth instead of burlap.
Much softer light.
I’m loving the pattern of the wire showing through. A fun little surprise, like the peek-a-boo lamp shade.
Whew! Are you still with me? In most projects like this, I don’t start out with a plan. I take it a step at a time and decide as I go along what to do next. Sometimes this non-strategy works; sometimes, not so much.
How about you? Do you have everything planned out before you start a project? Got any tips for loosening up stiff neck and shoulders? I’m using heat and ibuprofen, and stretching as much as I can tolerate.


